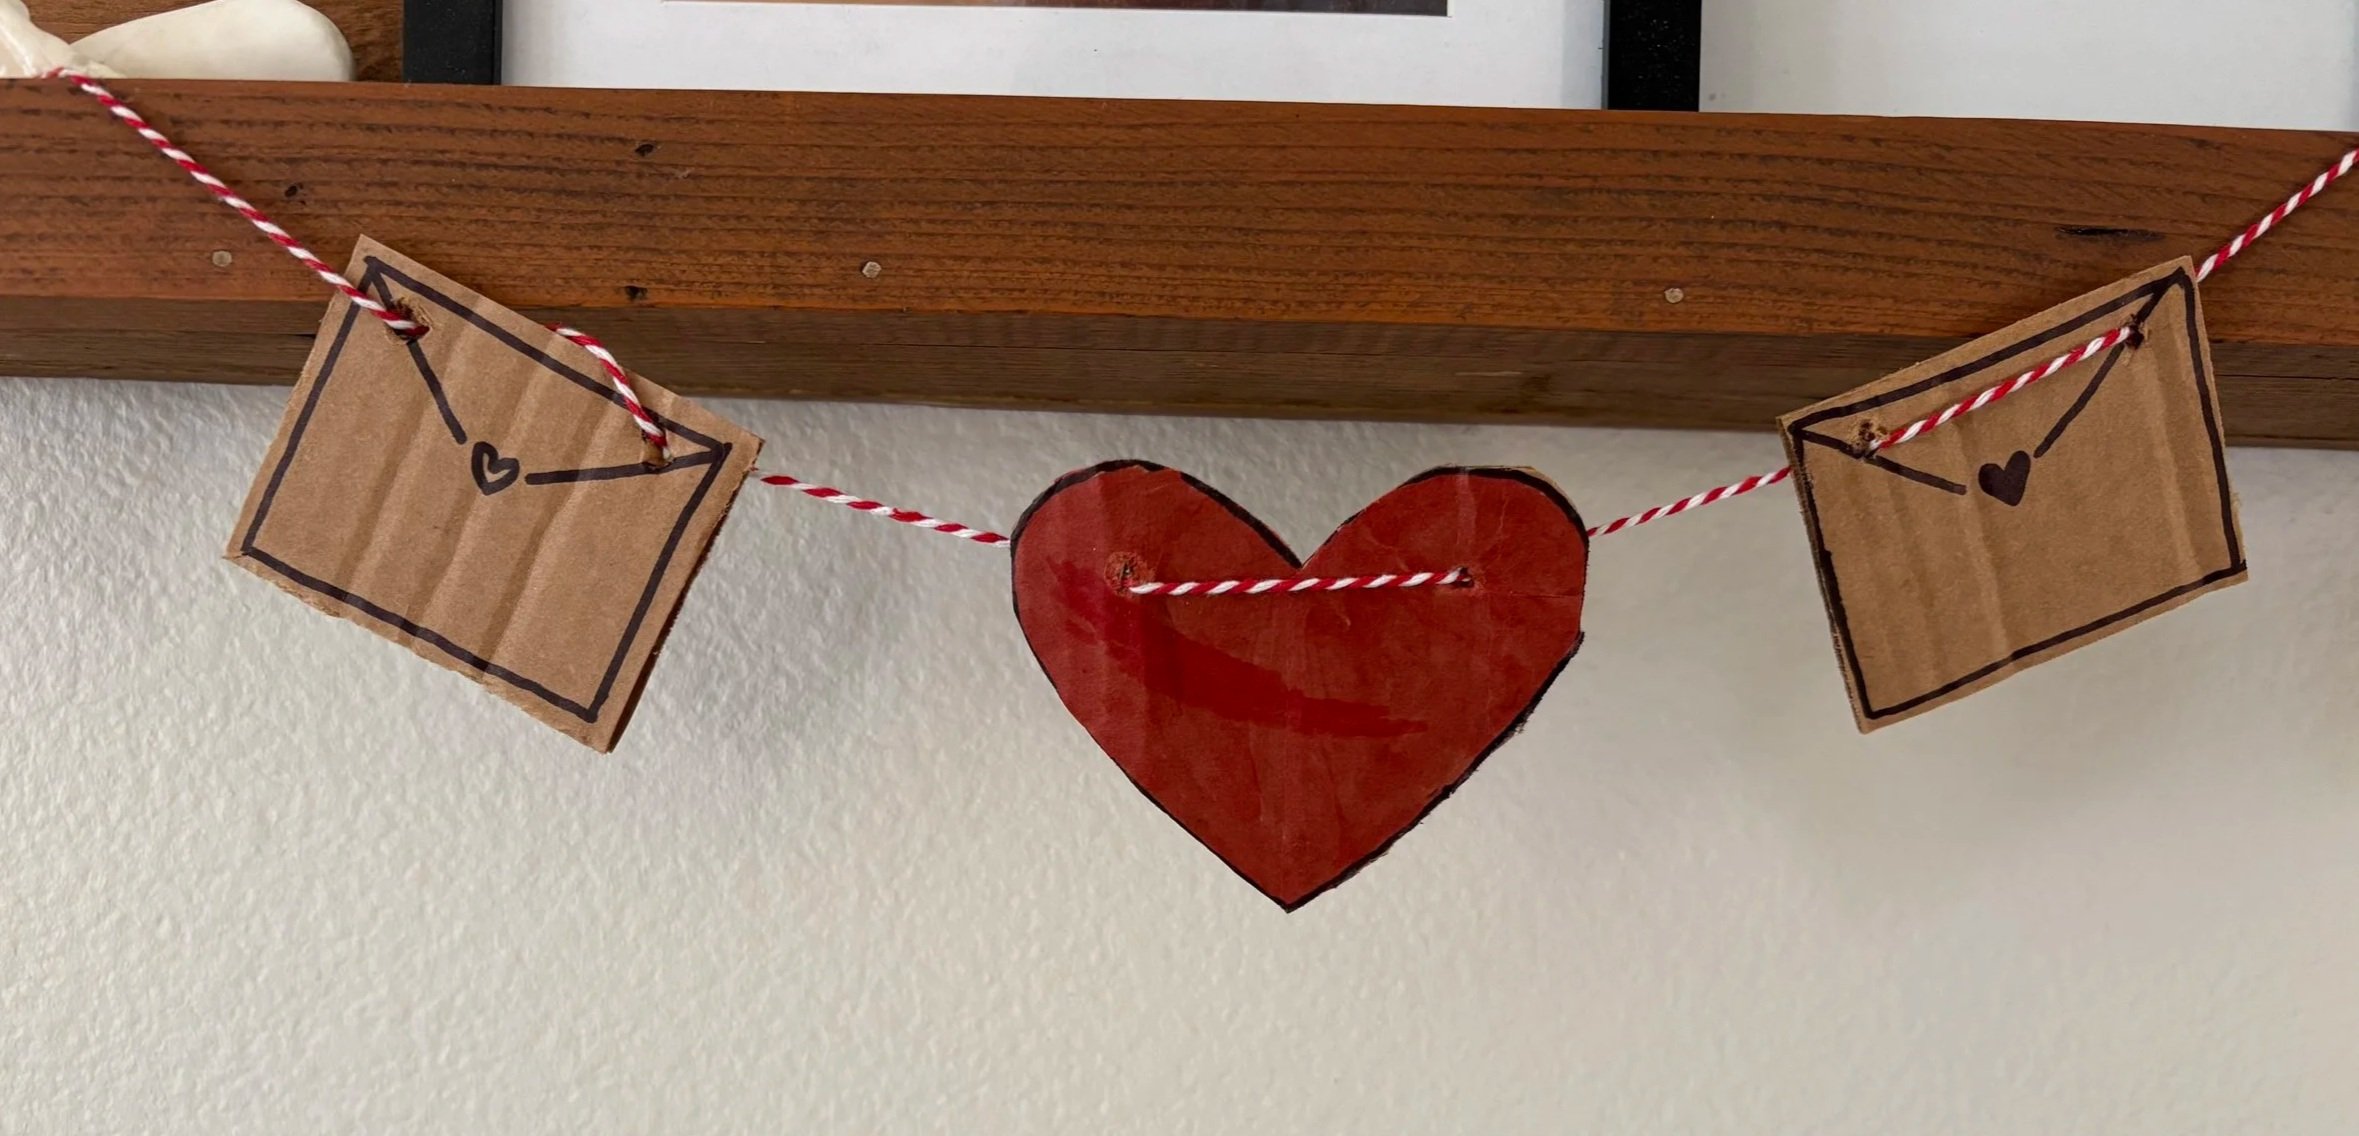
Easy DIY Valentine’s Garland Craft
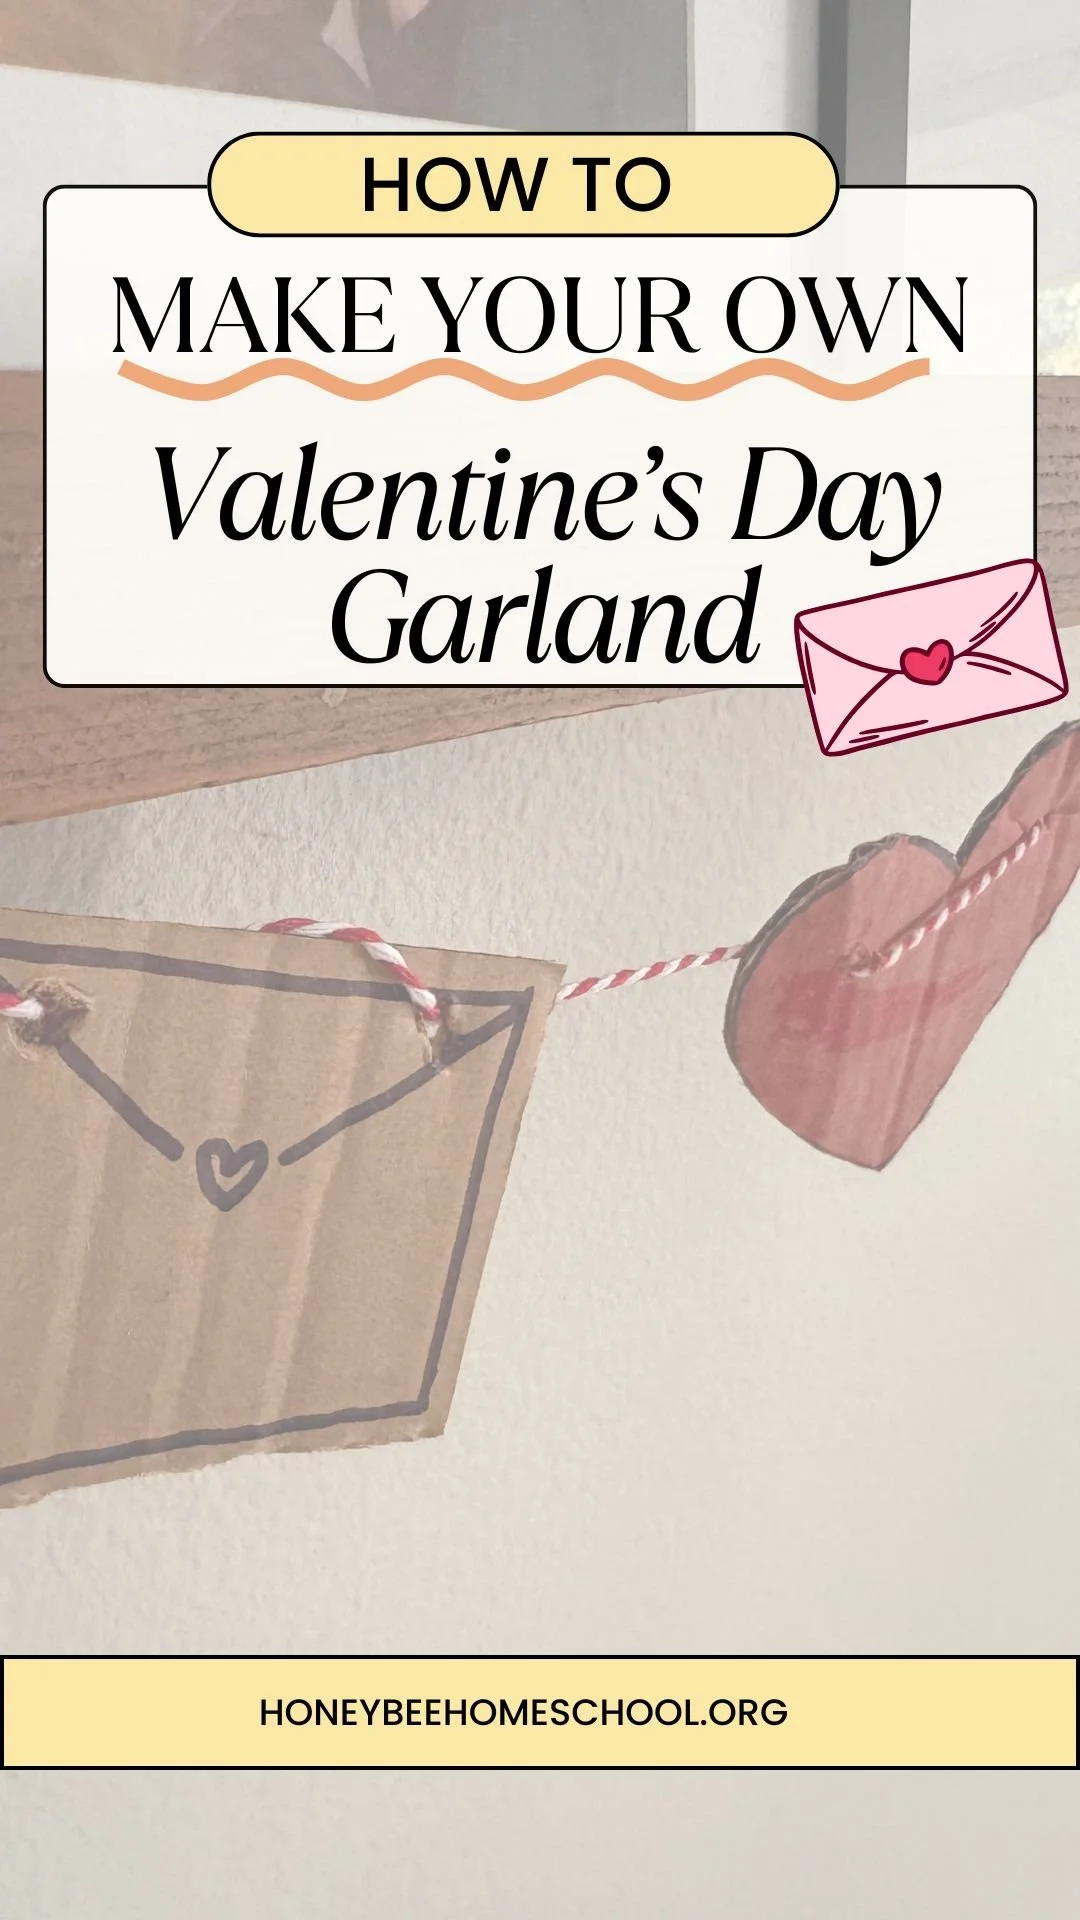
What if I told you that you could create a cute Valentine’s Day decorative garland for FREE (or at least very low cost)?! My family has been on a mission to be a little more sustainable and crafts and decorations are such an easy way to incorporate this!
This V Day garland is made from cardboard and some string or twine. The only other things you need are some scissors for cutting and pens or markers to decorate and draw! This easy craft was fun for both my kiddos and I love getting to decorate without spending any extra money!
My Inspiration
We are wrapping up the winter holiday season, and one thing parents know is how excited kids get when their homes are decorated. So, why not bring that cheer into the other holidays too?
I also knew that I didn’t want to spend a bunch of money on decorations, so I tried to think up things I could use around the house.
And of course, the ultimate inspiration was Pinterest! I searched for “cardboard craft ideas” when I saw a huge stack of cardboard waiting to be recycled.
There was a video that I saw that was similar to the garland in this post. If you know who the original creator is, I would love to give them credit, but I cannot find the video again!
What You Need:
I’m not even kidding when I say that this craft can easily be made with things that are just lying around the house…. or honestly, in your recycling can.
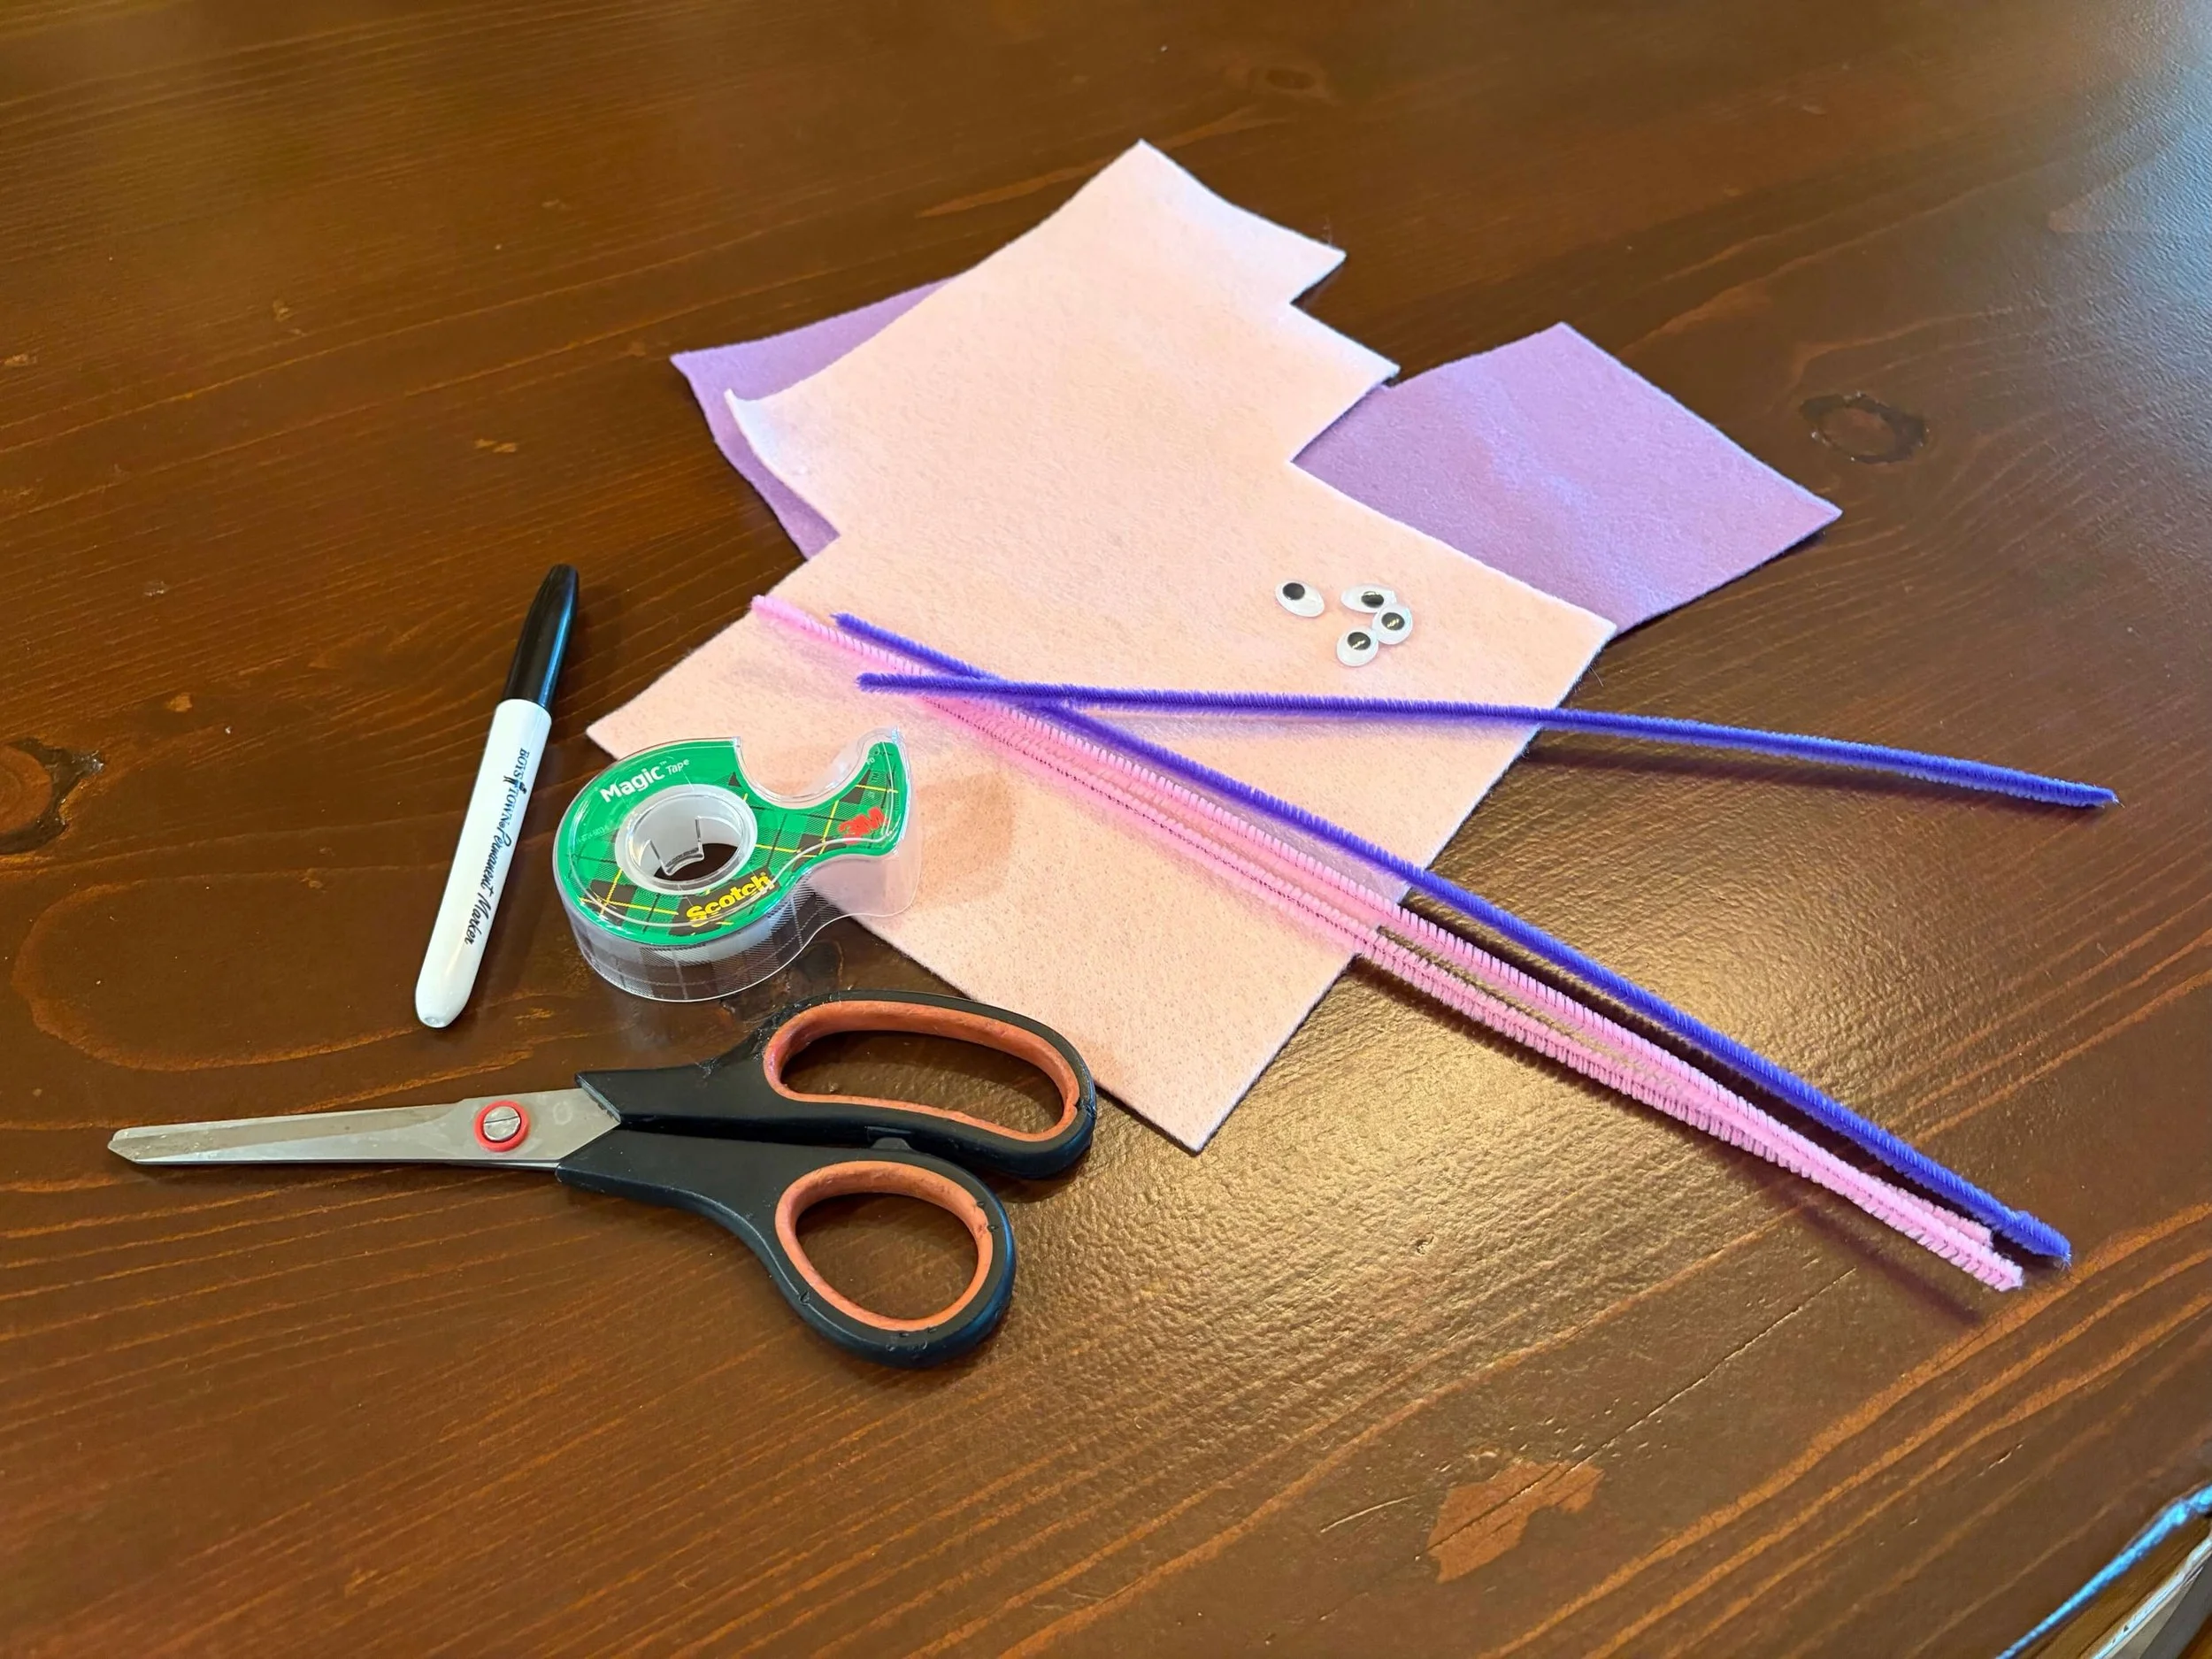
Here’s your supplies:
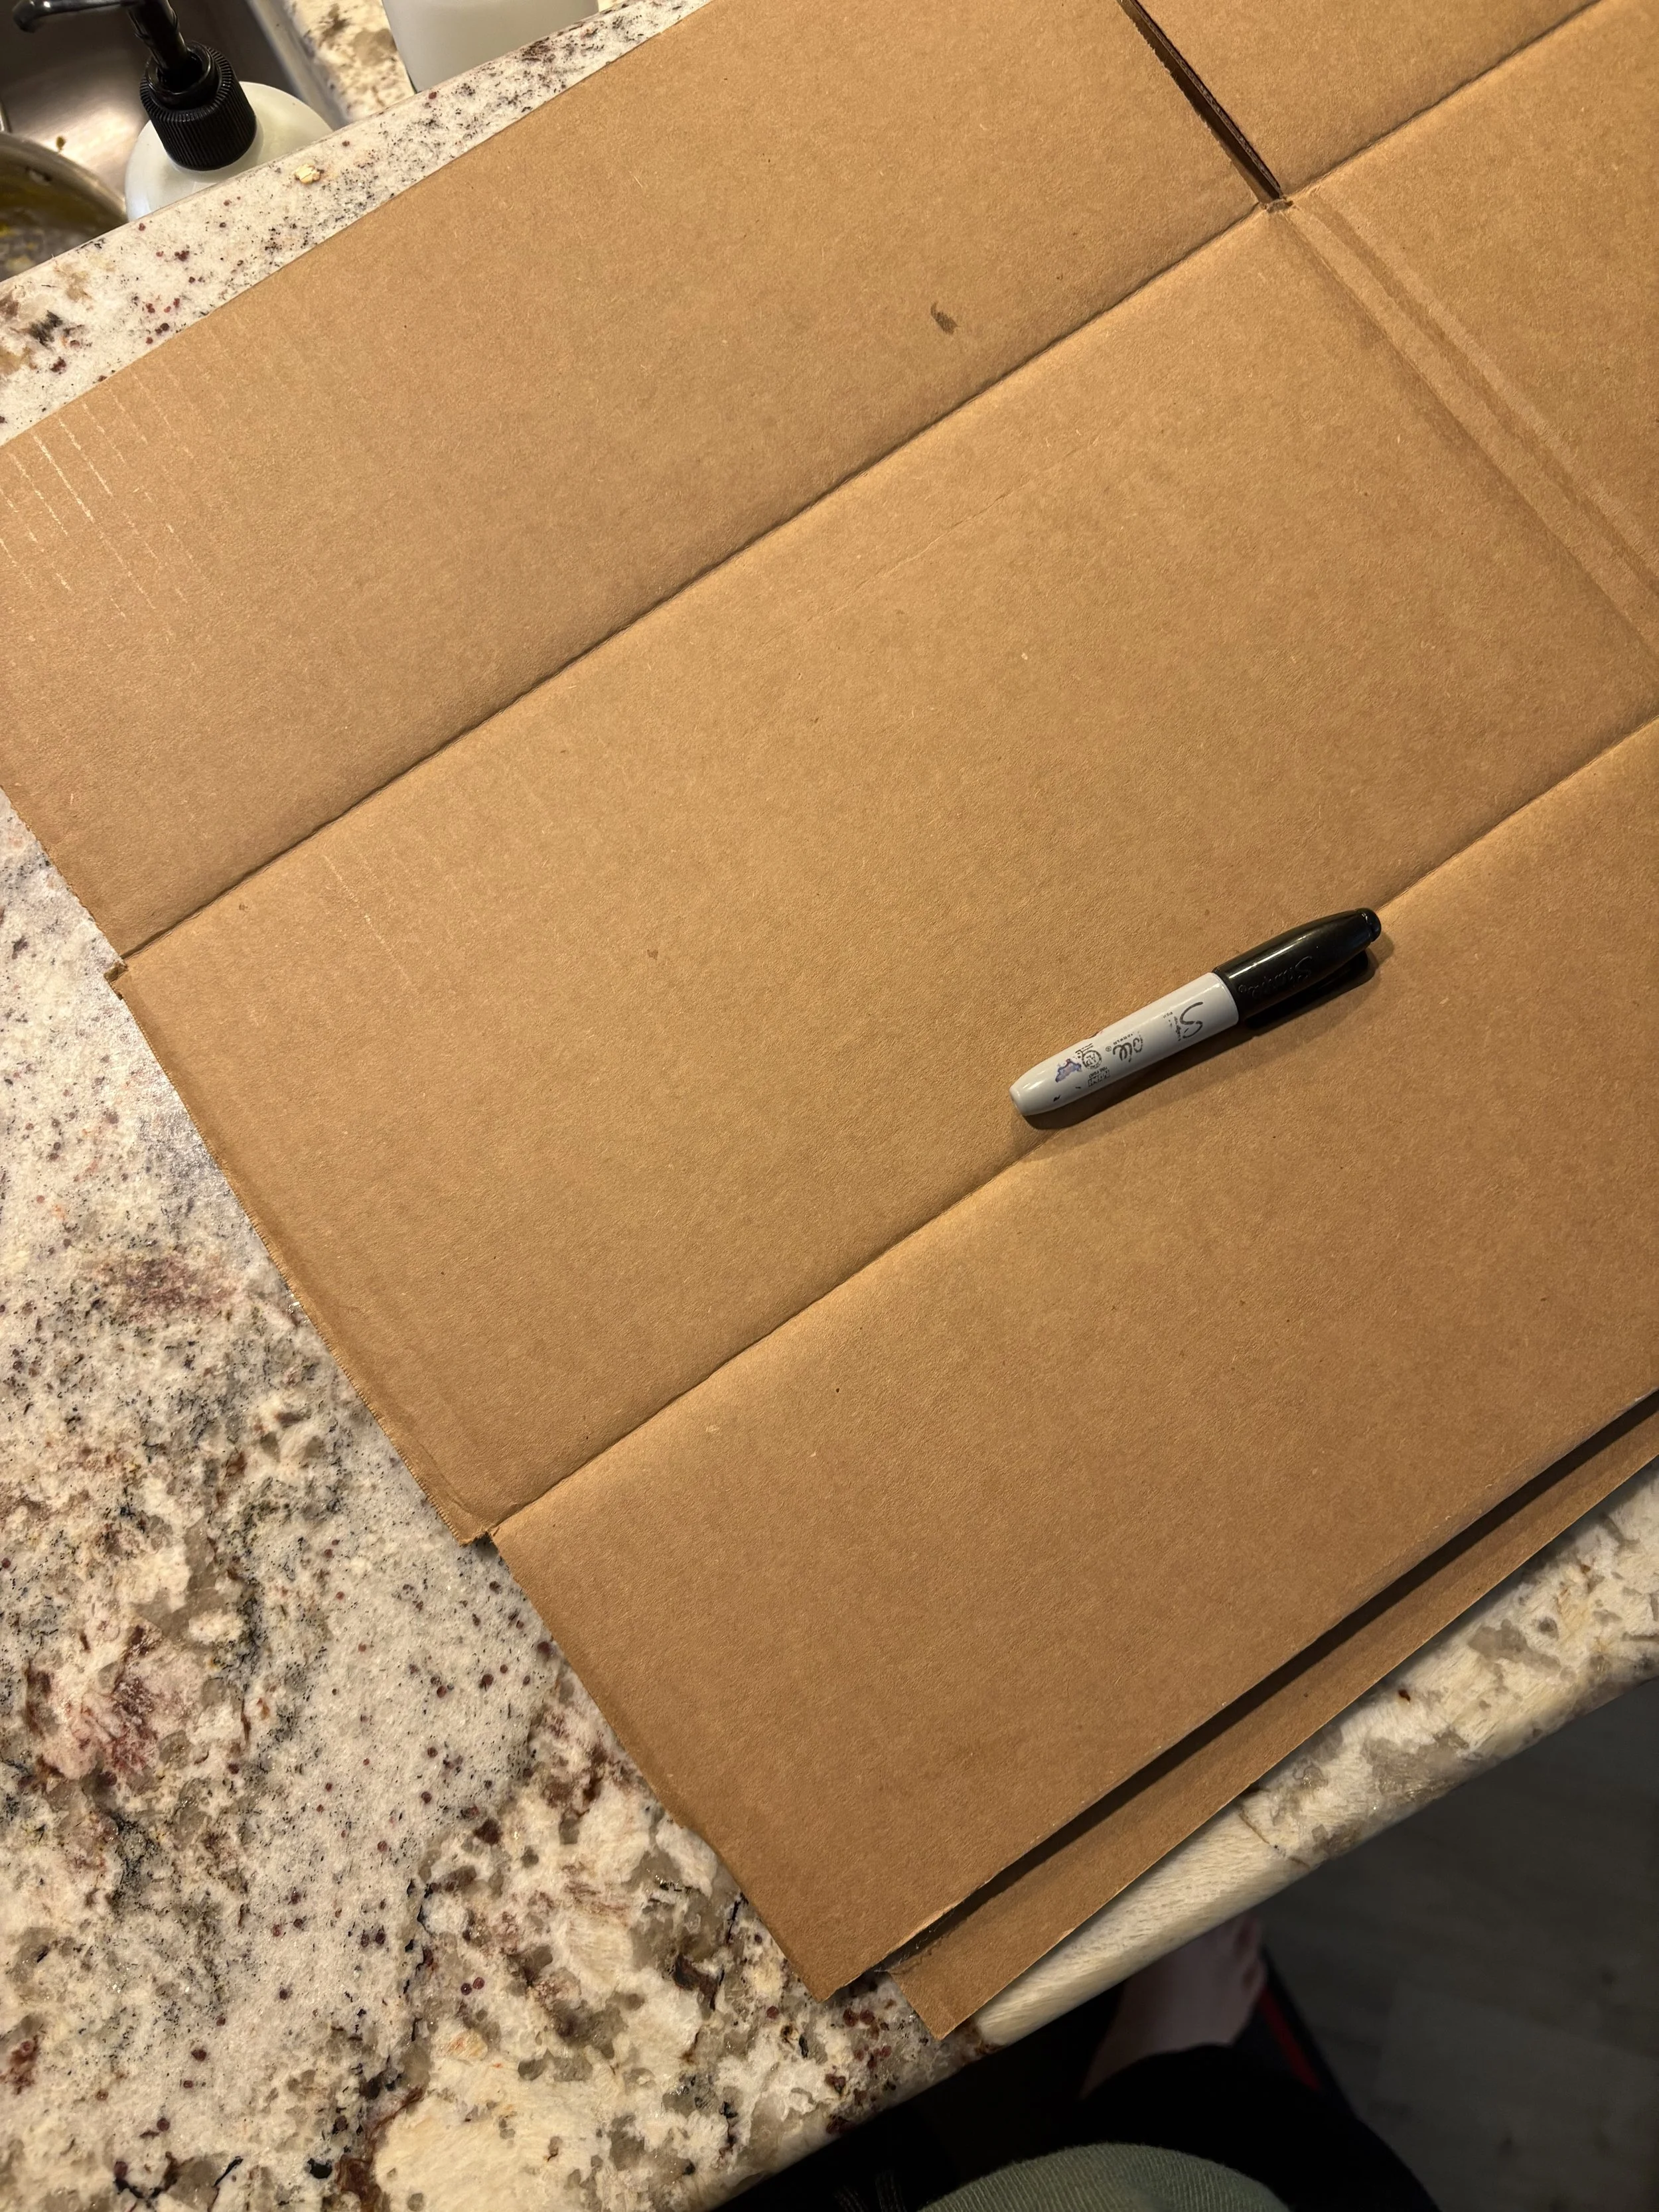
cardboard (I made 2 garlands with one Target delivery box)
Sharpie and coloring markers
twine ( I used leftover string from Christmas)
scissors ( I used craft scissors, but as long as they cut through cardboard, you’re good)
optional: hole punch… it may make your work a little bit easier. I just stabbed the cardboard with a kitchen knife until I had a hole that I could fit the twine with. Probably not recommended, but it did the job 🙈
How To Make a Cardboard Valentine’s Garland
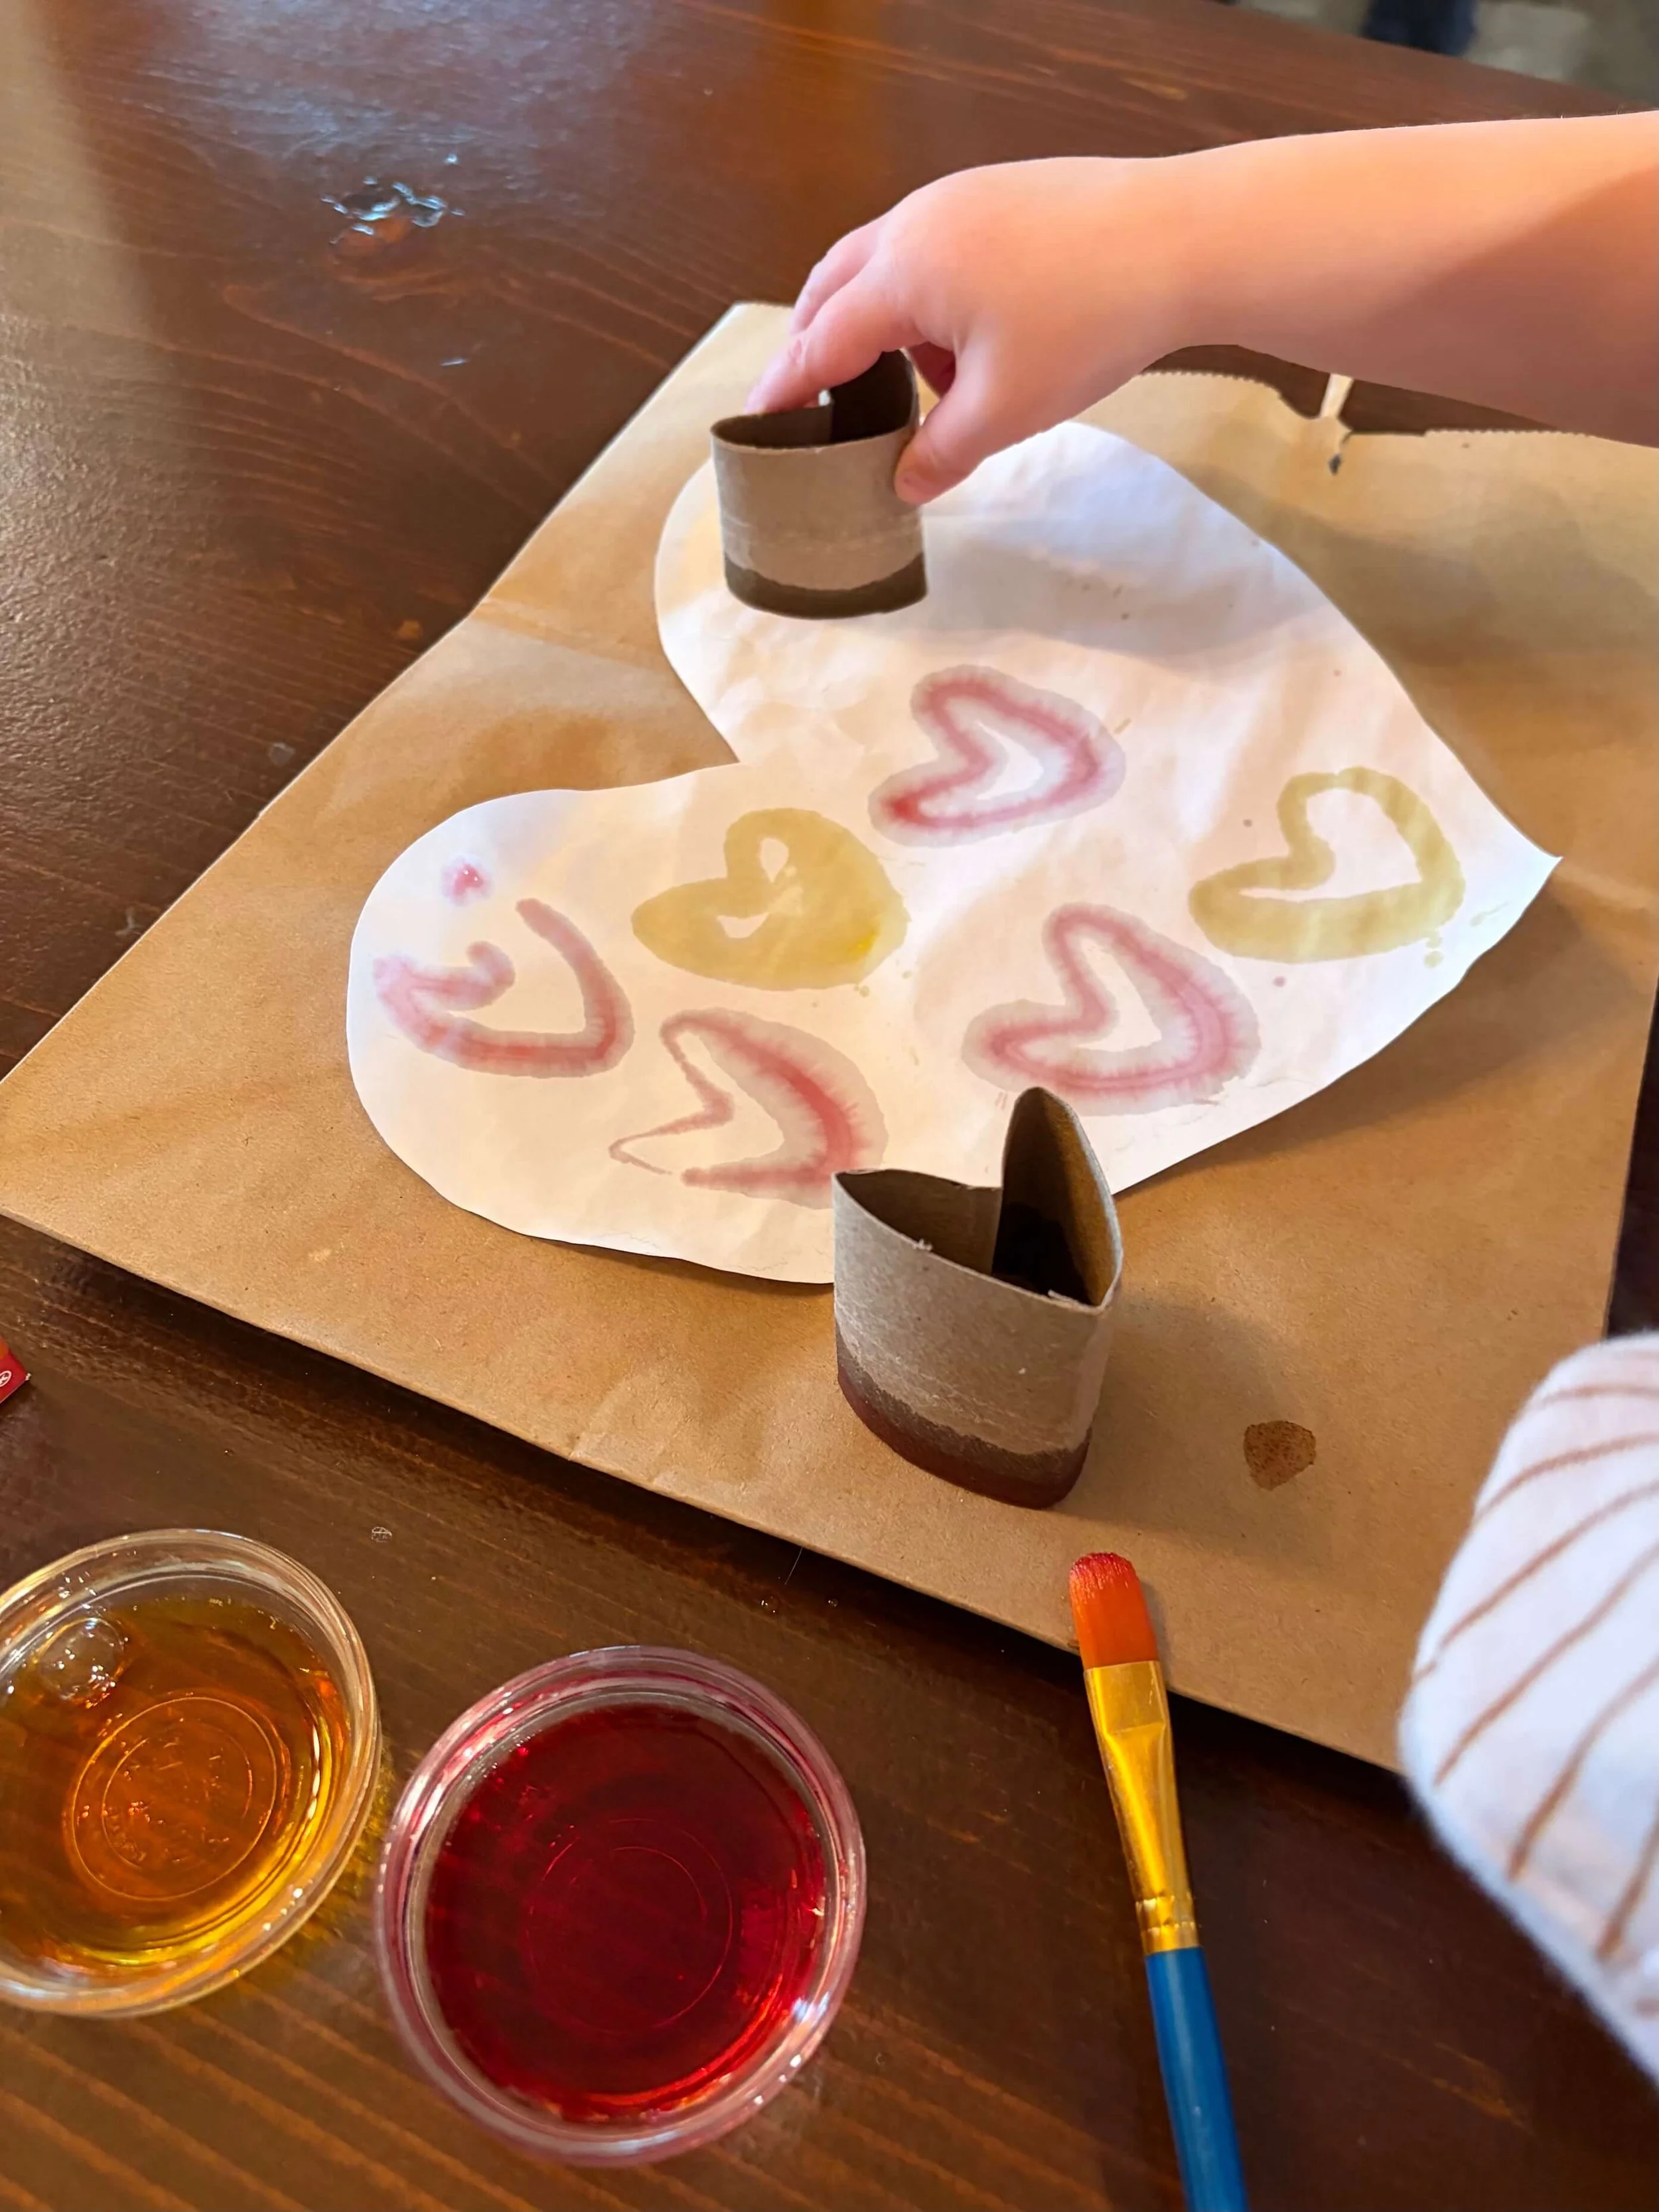
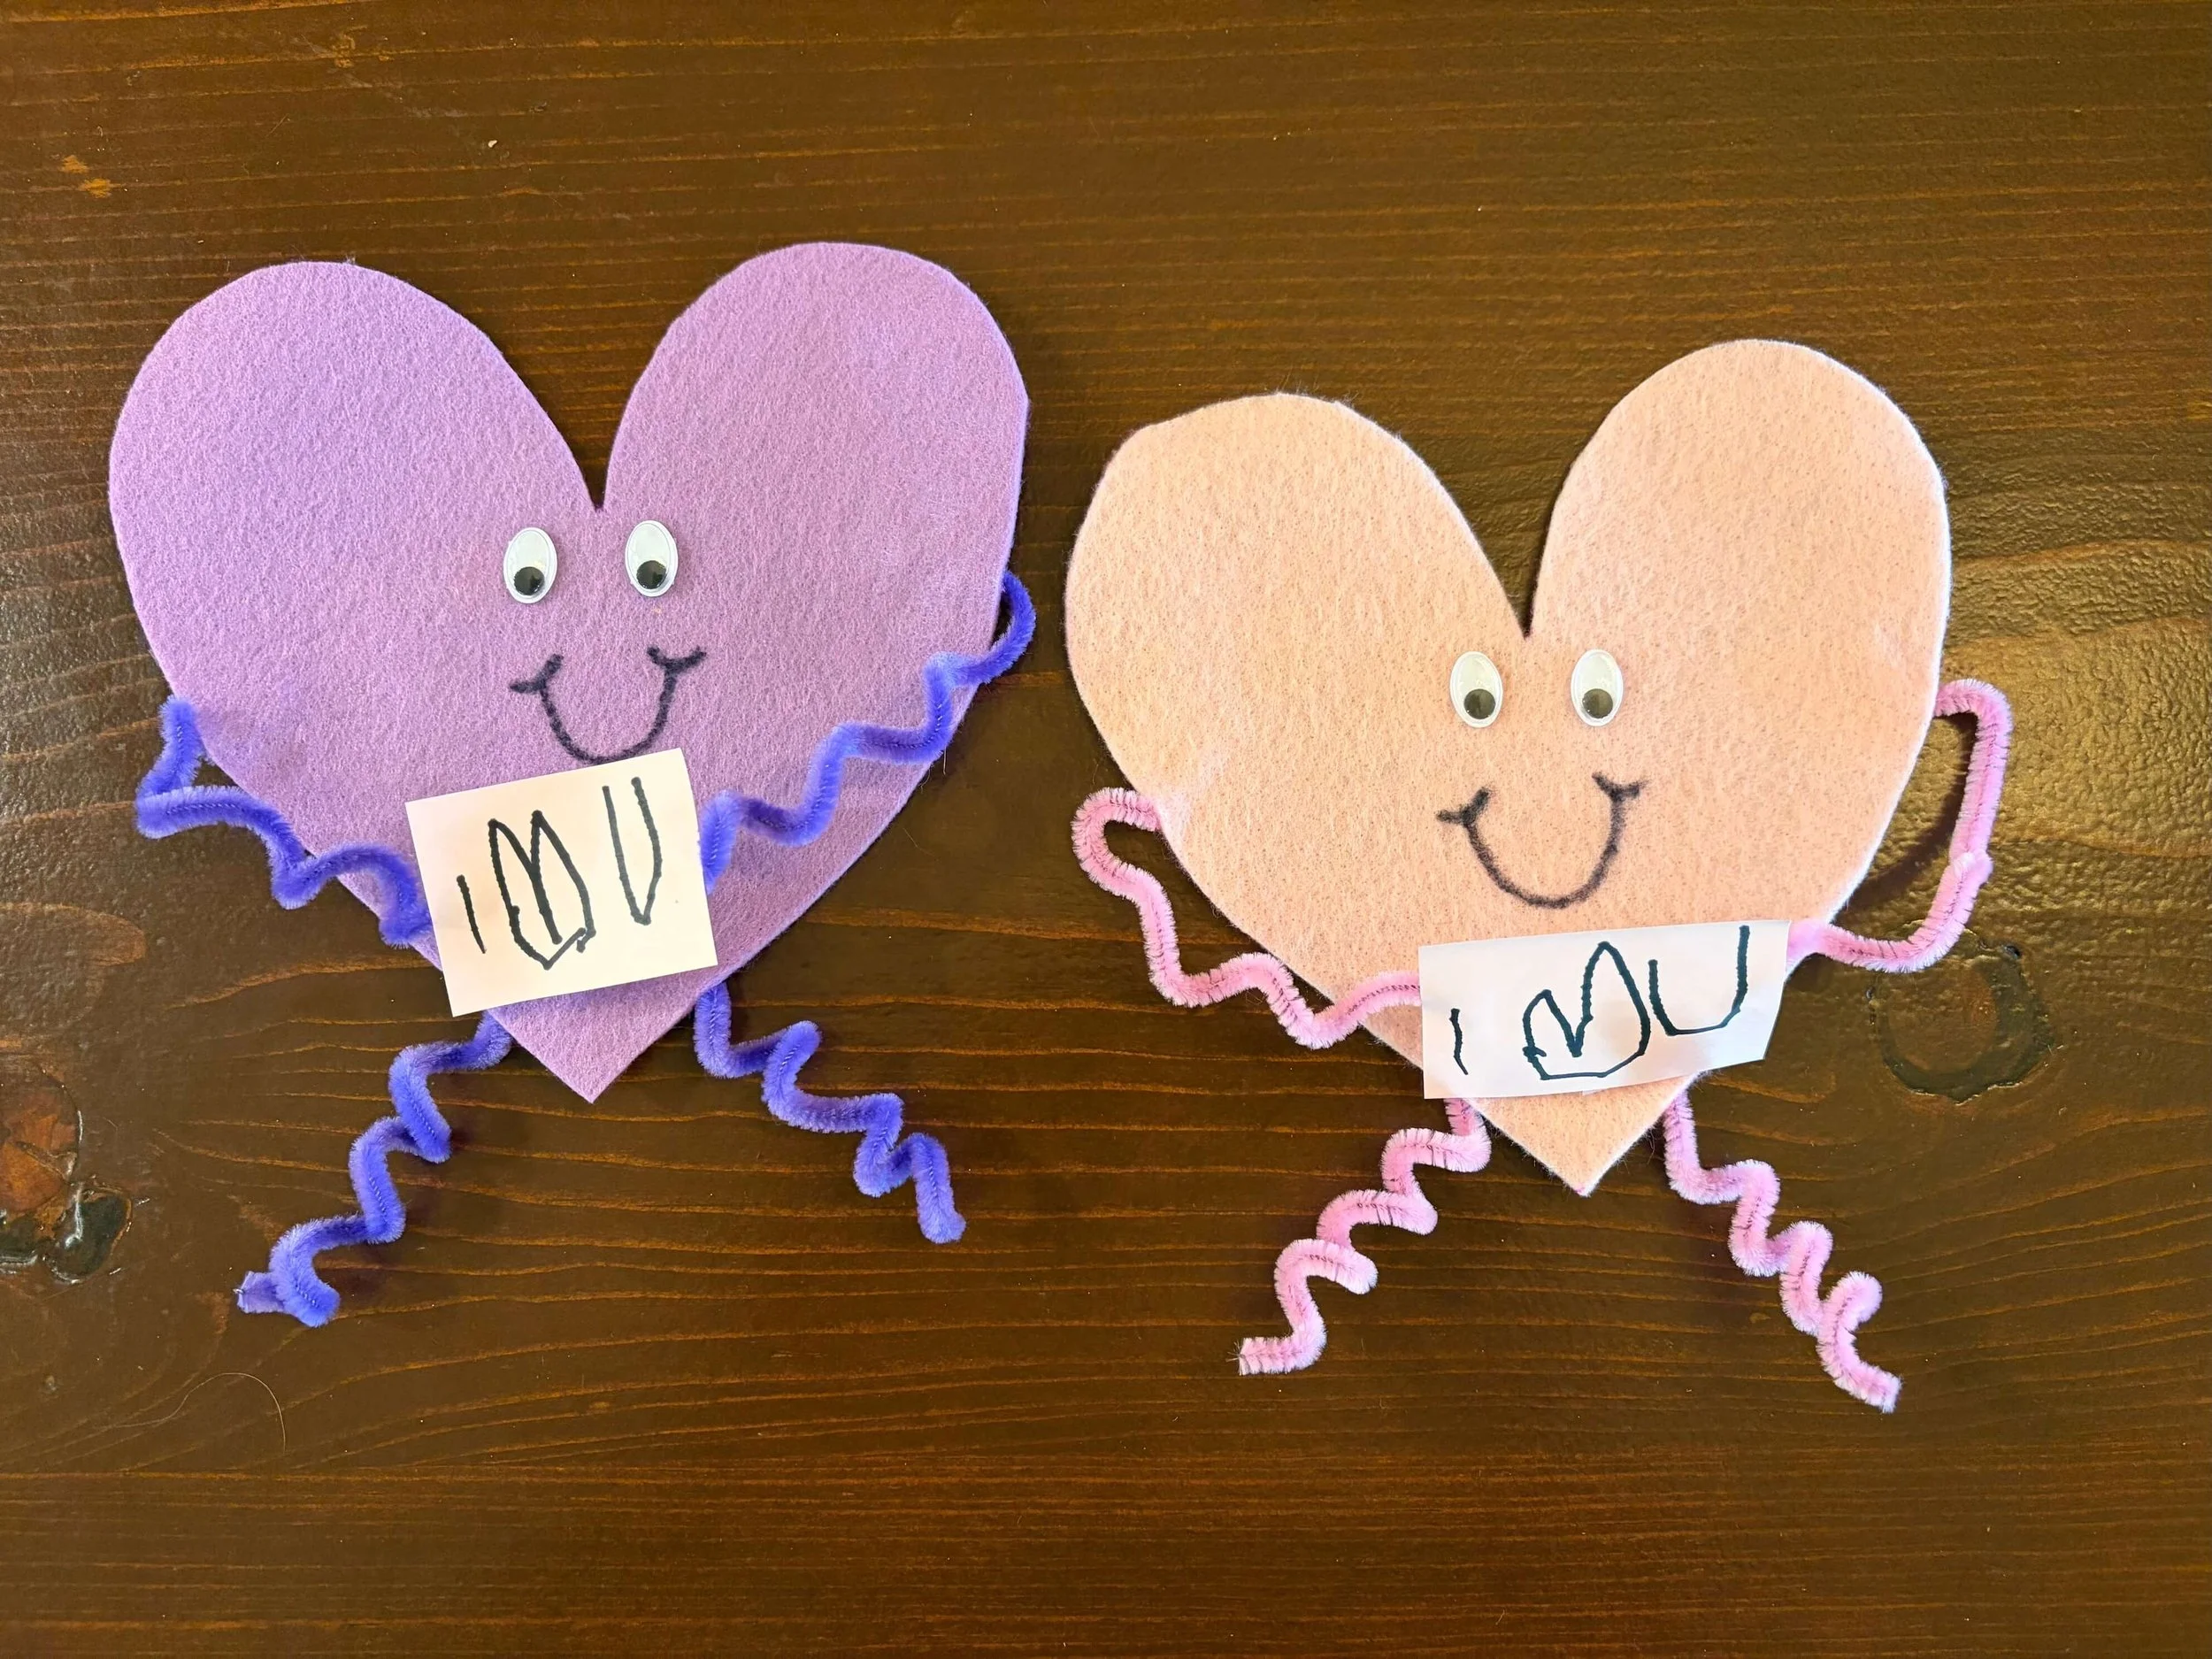
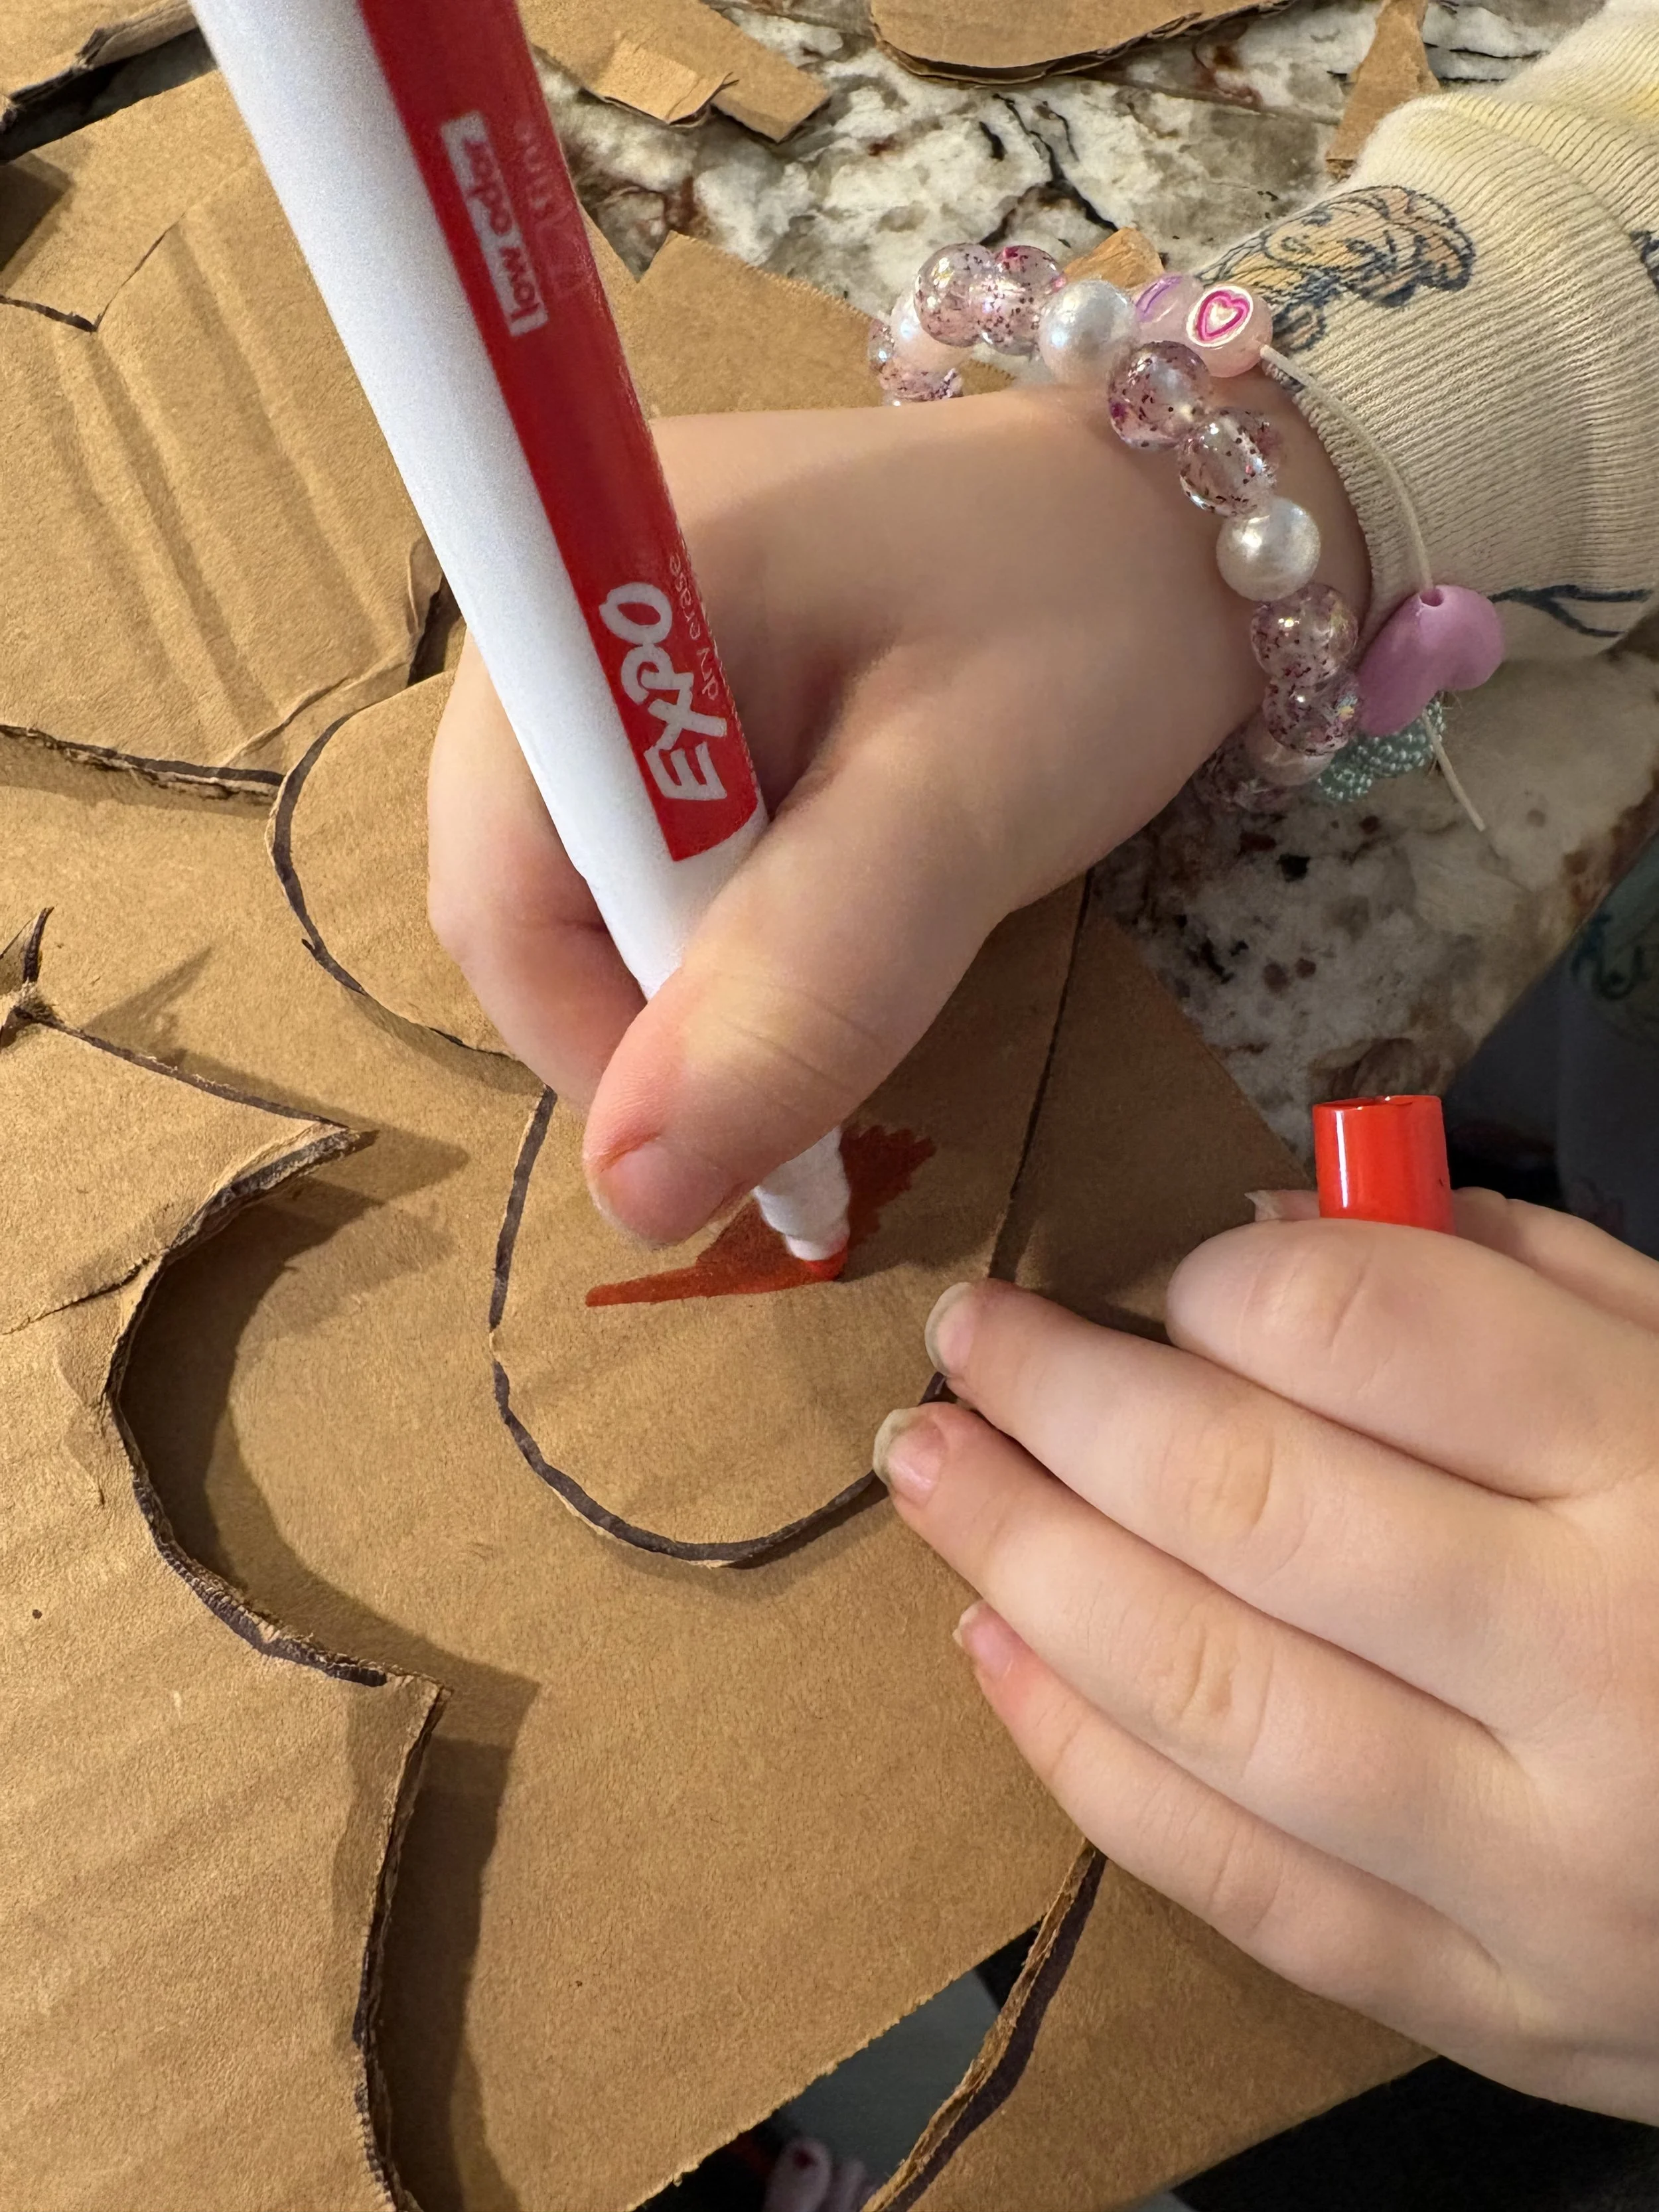
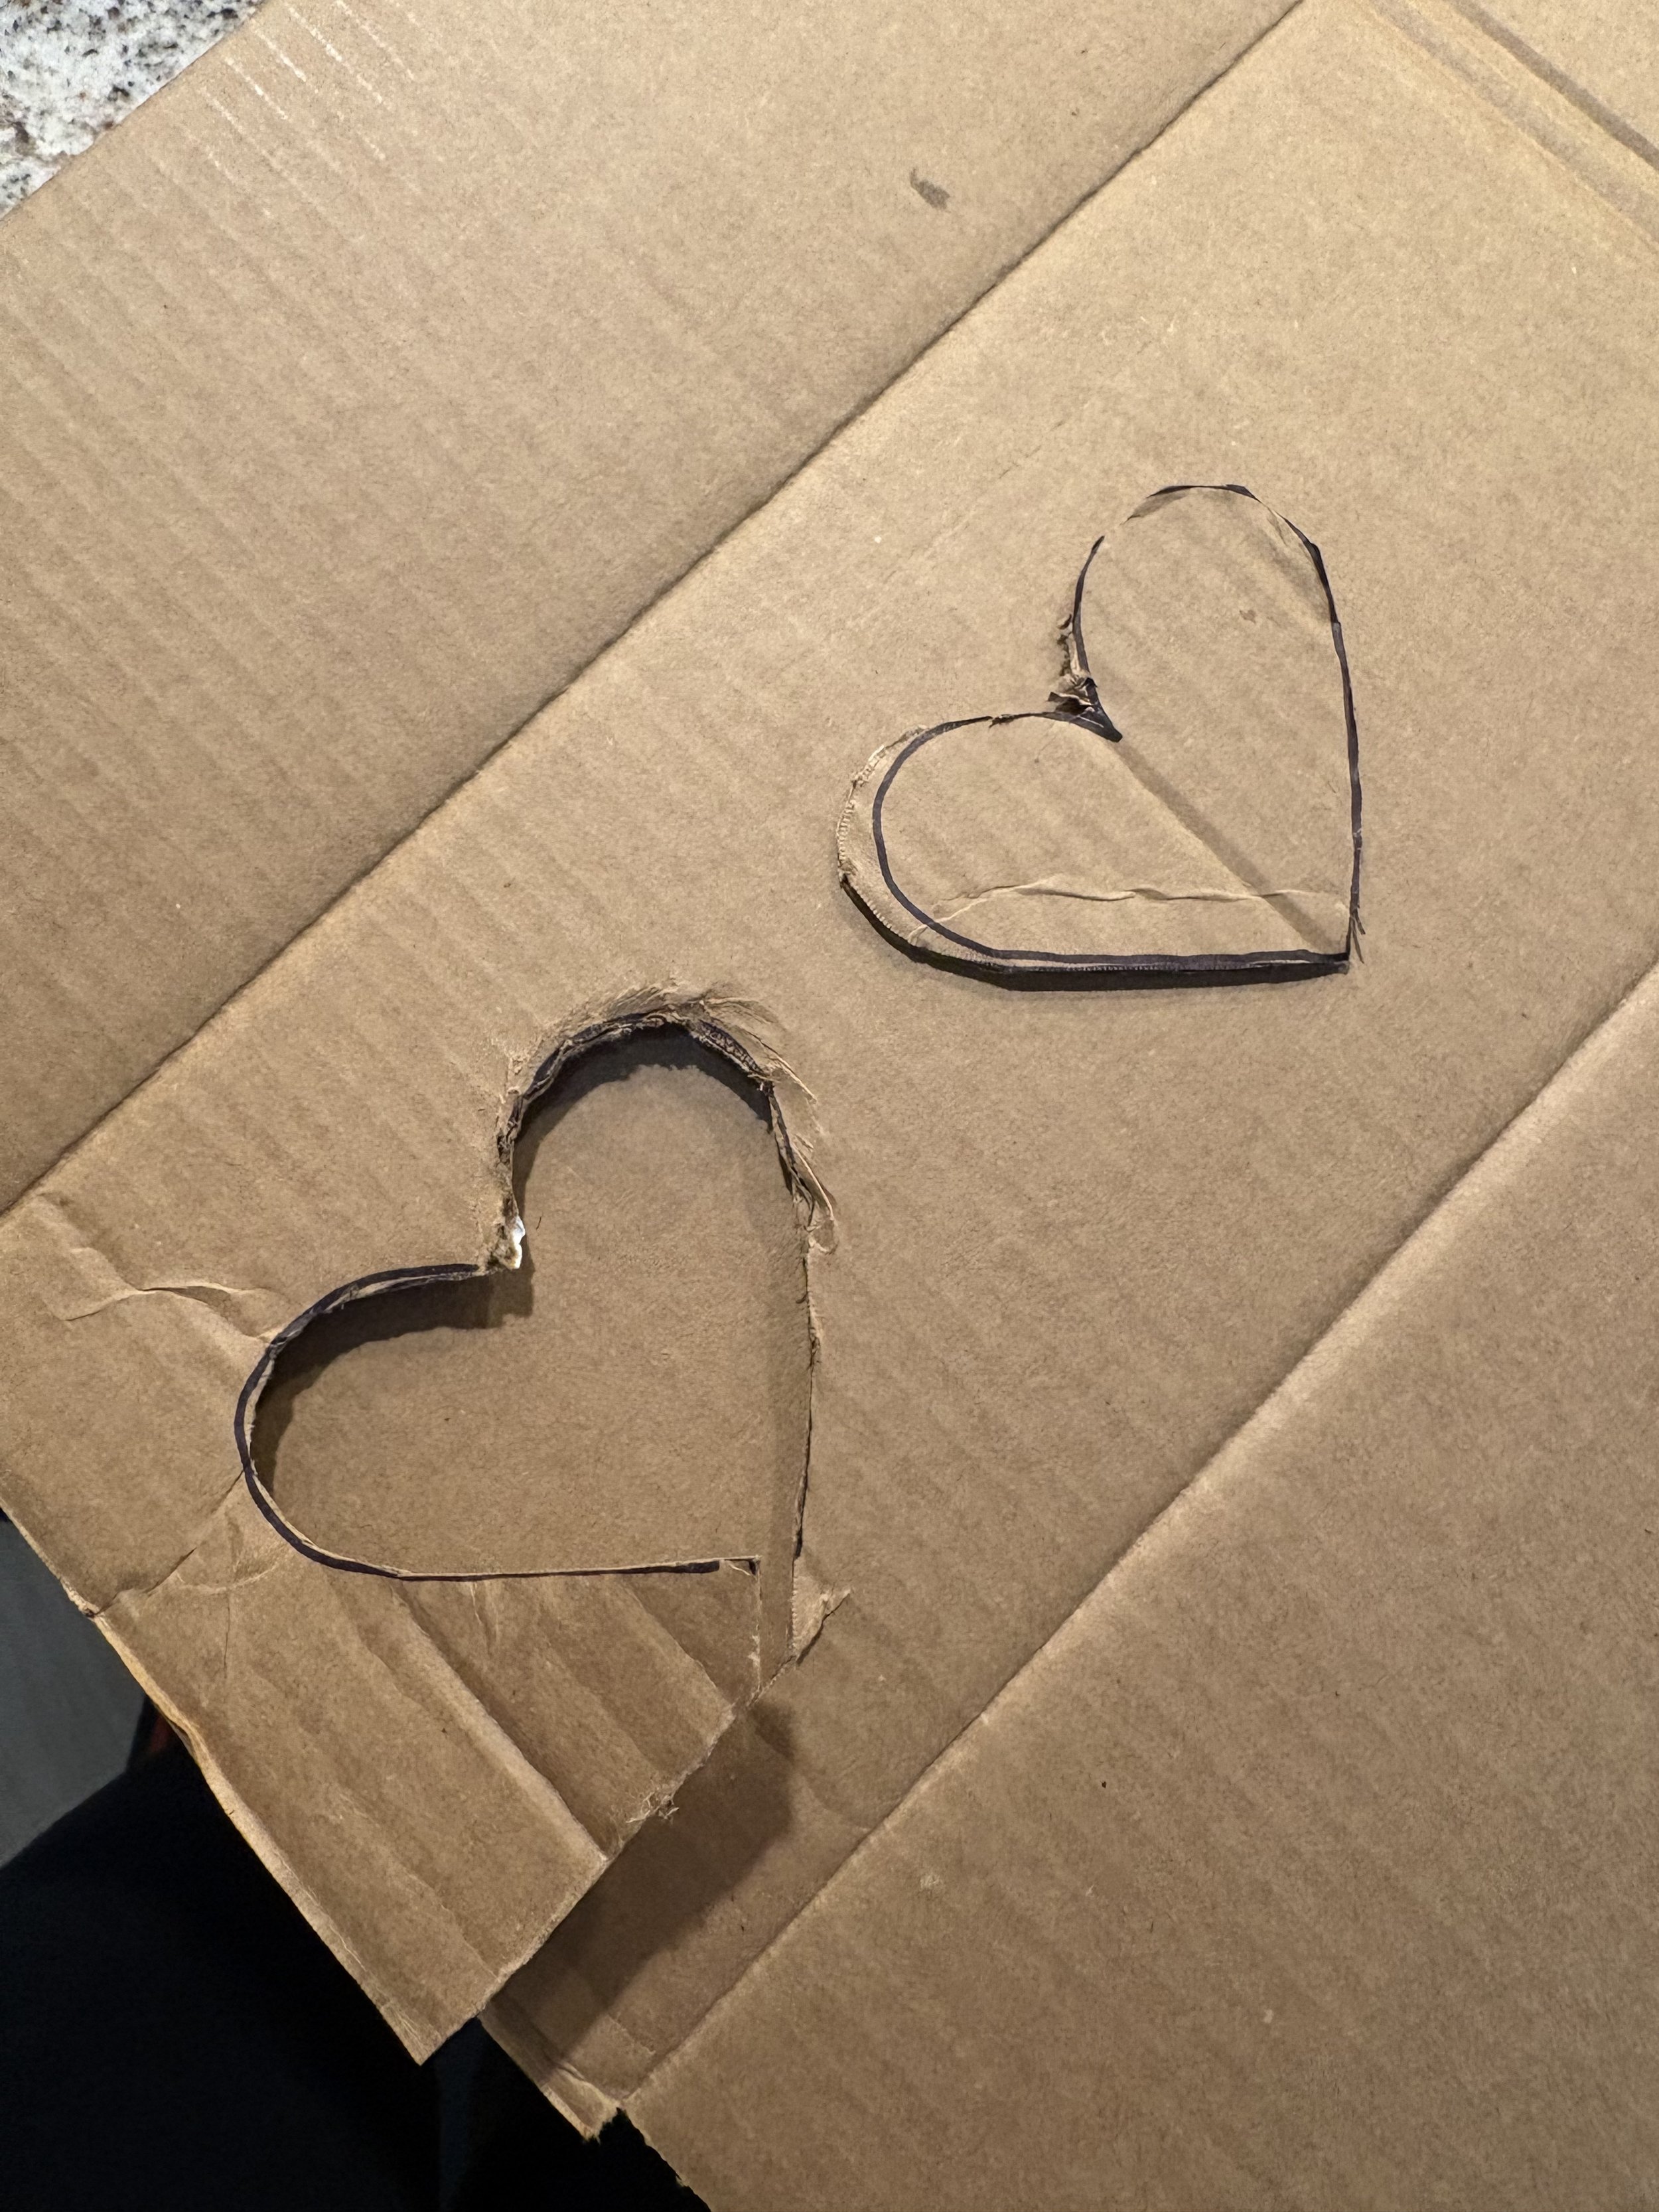
I made two different shapes for my garland— the first was a rectangle that I turned into a cute little envelope. The second was a heart.
I started by using the box side flaps that were a bit narrower to make the rectangles.
Then, I drew a heart and cut it out. I wanted all the hearts to be similar in size and shape so I used that first heart as a stencil. This helped make the garland more consistent. But I do think having hearts of all different variations would be really cute too!
I drew little hearts and lines on the rectangles to make envelopes.
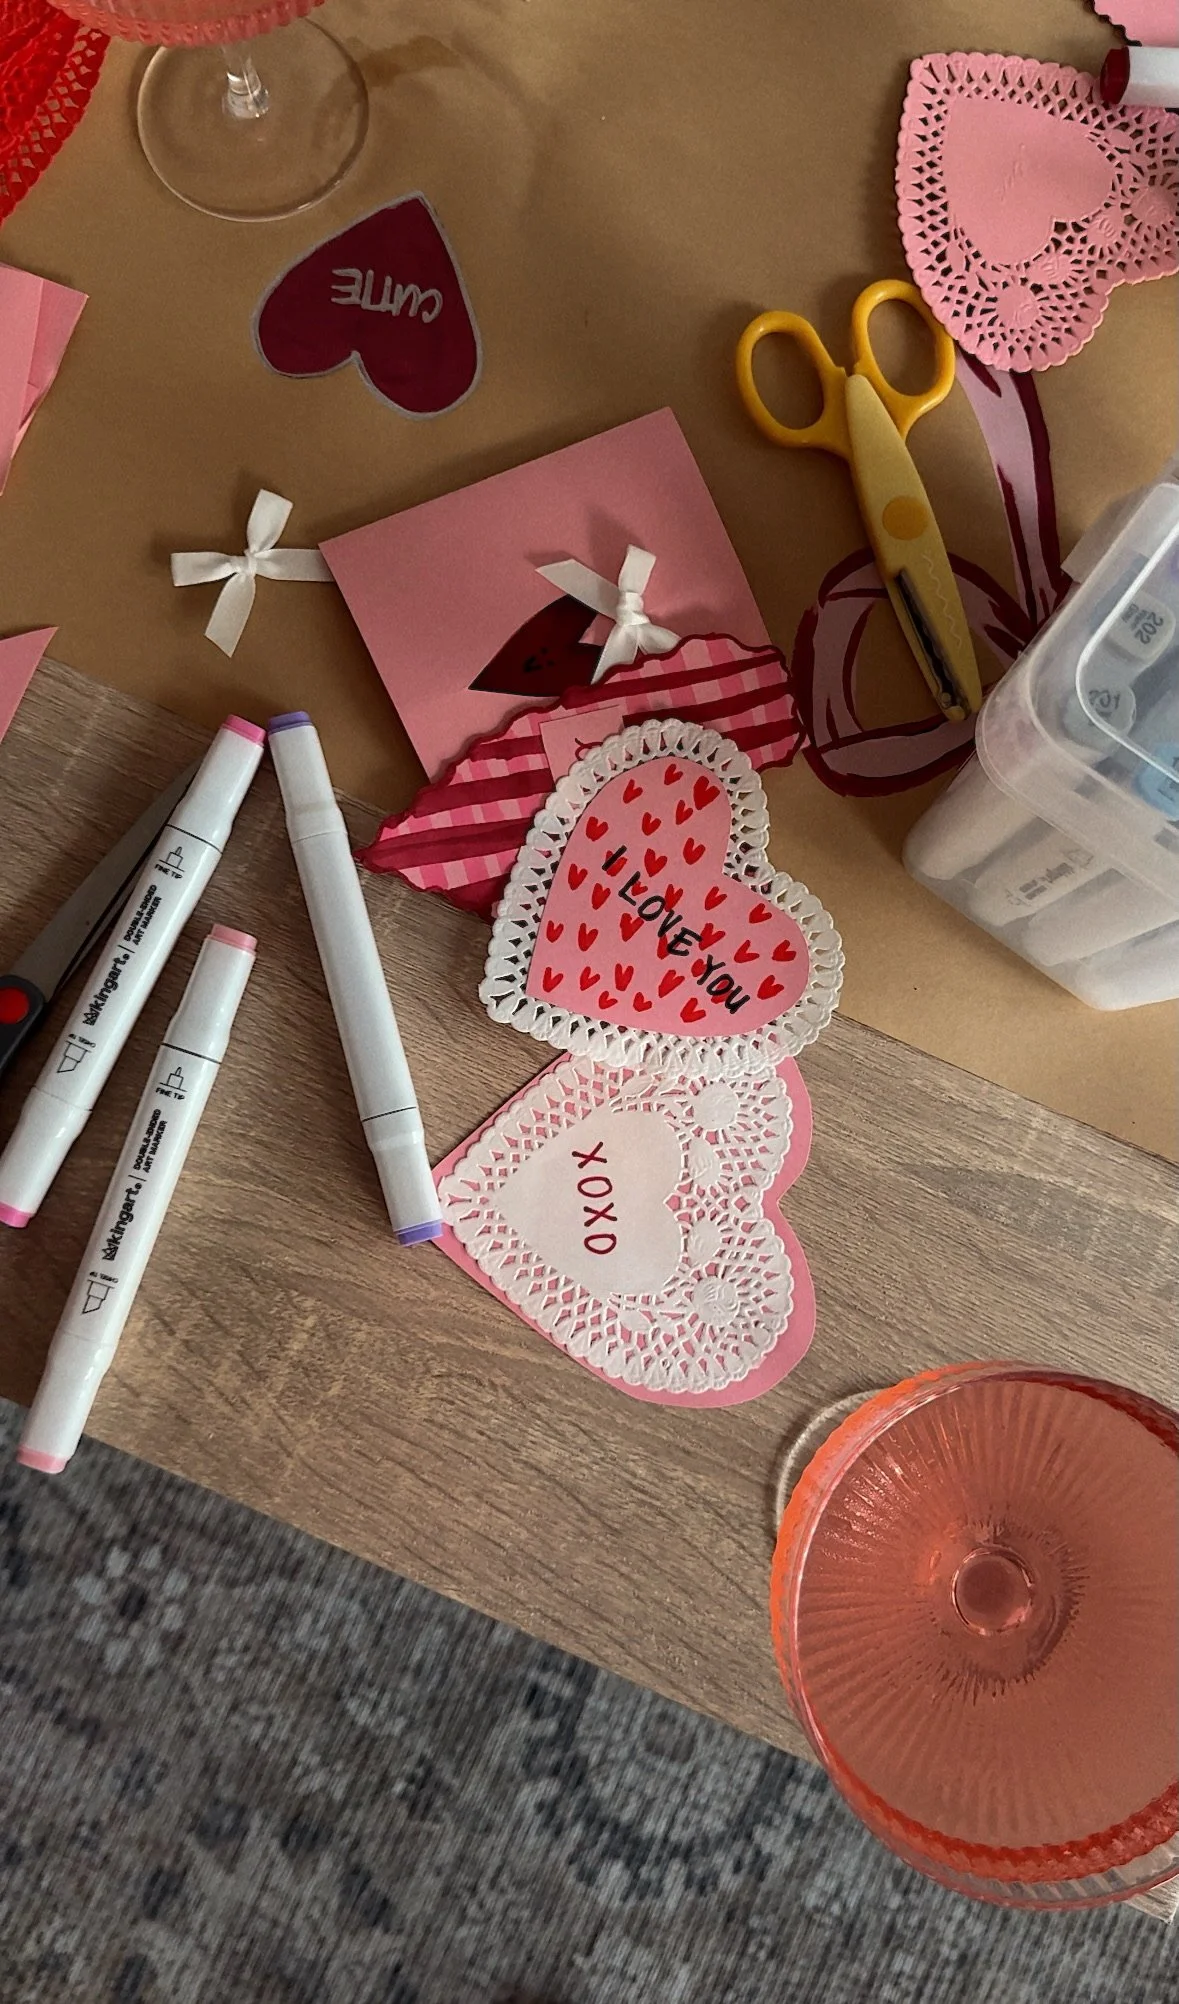
Handed the hearts over to my kiddos to color and draw however they pleased!
Make holes in the shapes and string the twine through them. Two holes help the cardboard to lie flat while it’s hanging!
Why This Craft Is Great For Kids
teaches sustainability— I want to raise children who are resourceful and creative with the things they have. And I think this is an easy little project that can show them just how much they are able to create with things they already have!
low cost— I am always looking for fun activities to keep my kids’ minds engaged. Bonus points when it is an affordable one!! You can easily make this craft for free or for only a few dollars if you need string or scissors. But odds are you’ve got something lying around the house that will work!
So many variations— After making this one for Valentine’s, I am already thinking up fun variations we can make for other holidays!
latest on the blog